StripeでApple payを使うためには、Stripe側でCert Signing Requestを作成し、Apple Developer Centerで発行した証明書をStripeに登録する必要があるのでその備忘録。
Stripeにアプリケーションを追加
まずはStripeにアクセスして 新規アプリケーションを登録 を押します。
https://dashboard.stripe.com/settings/payments/apple_pay
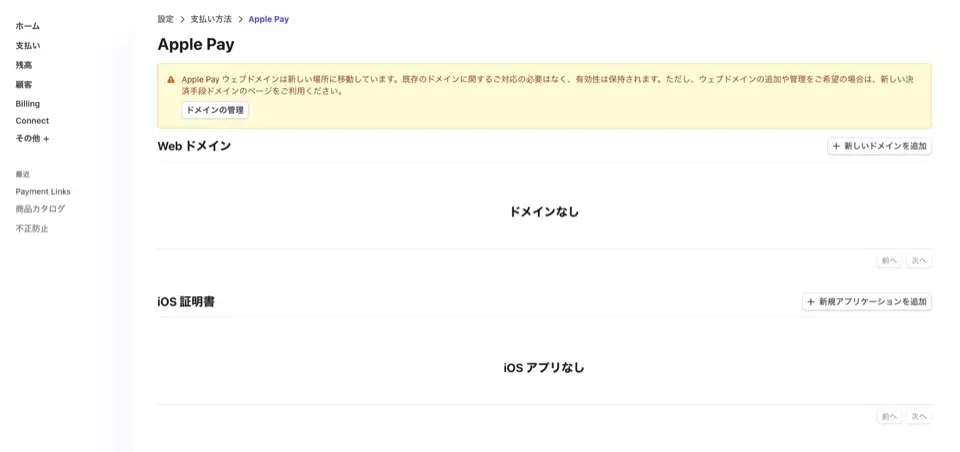
ボタンを押すとApple Developer Centerに登録するための Stripe.certSignningRequest をダウンロードできます。
Apple Developer Centerへの登録
https://developer.apple.com/account/resources/identifiers/list/merchant
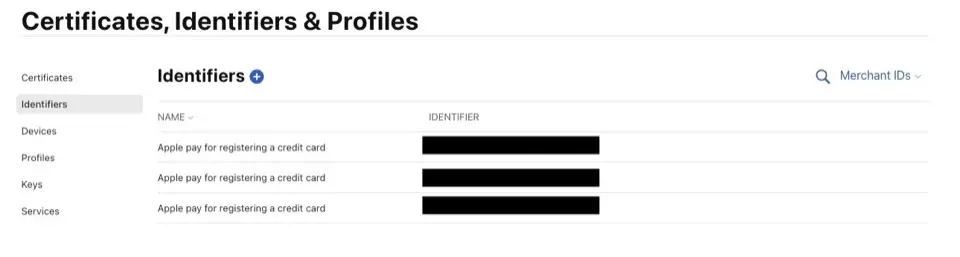
Certificates, Identifiers & ProfilesのIdentifiersにMerchant IDを登録します。
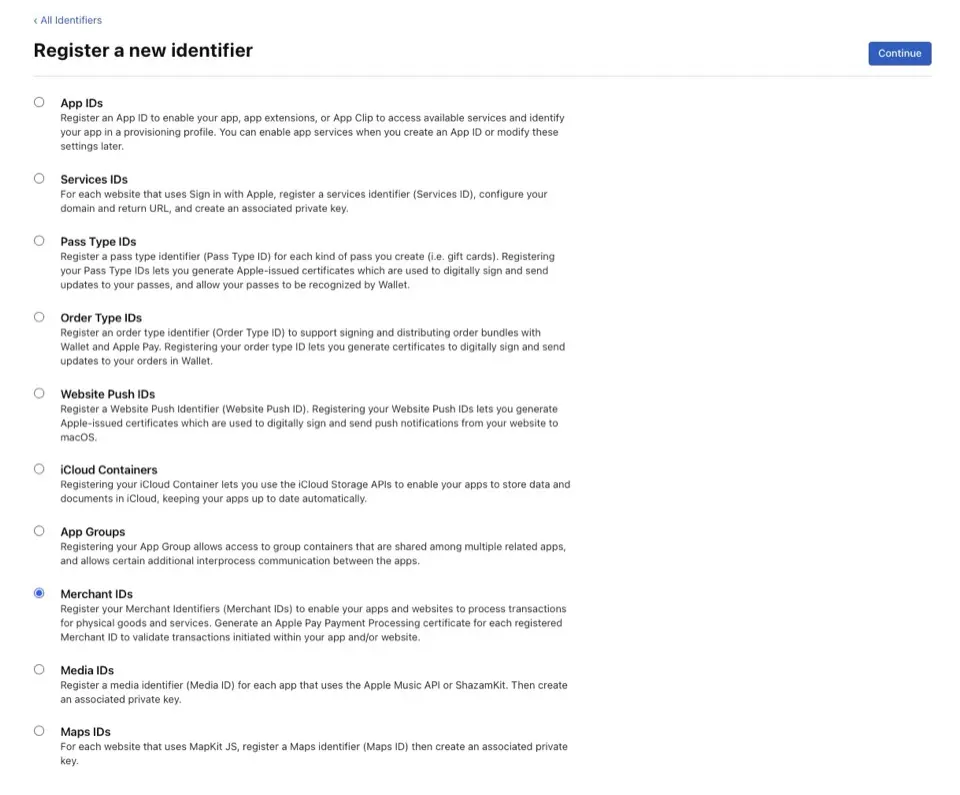
左上のプラスボタンから登録を進めます。
登録はMerrchant IDsを選択
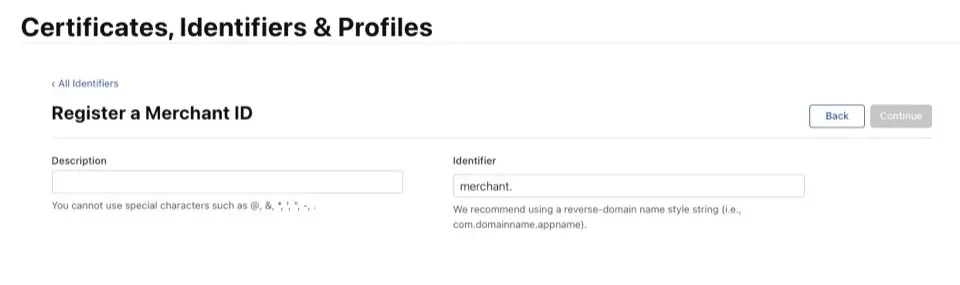
merchantのprefixは自動で付くようになっているので、merchant.[app domain] で登録します。
作成したら一覧に戻って、作ったIdentifiersを選択します。
Apple Pay Payment Processing Certificate の Create Certificate を選択
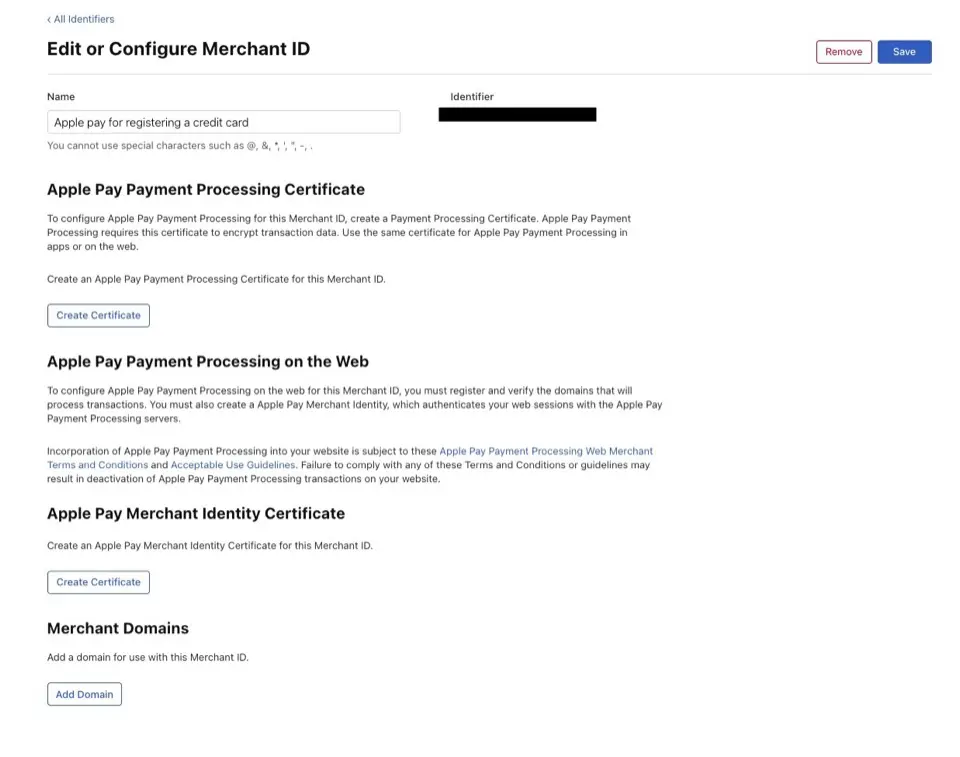
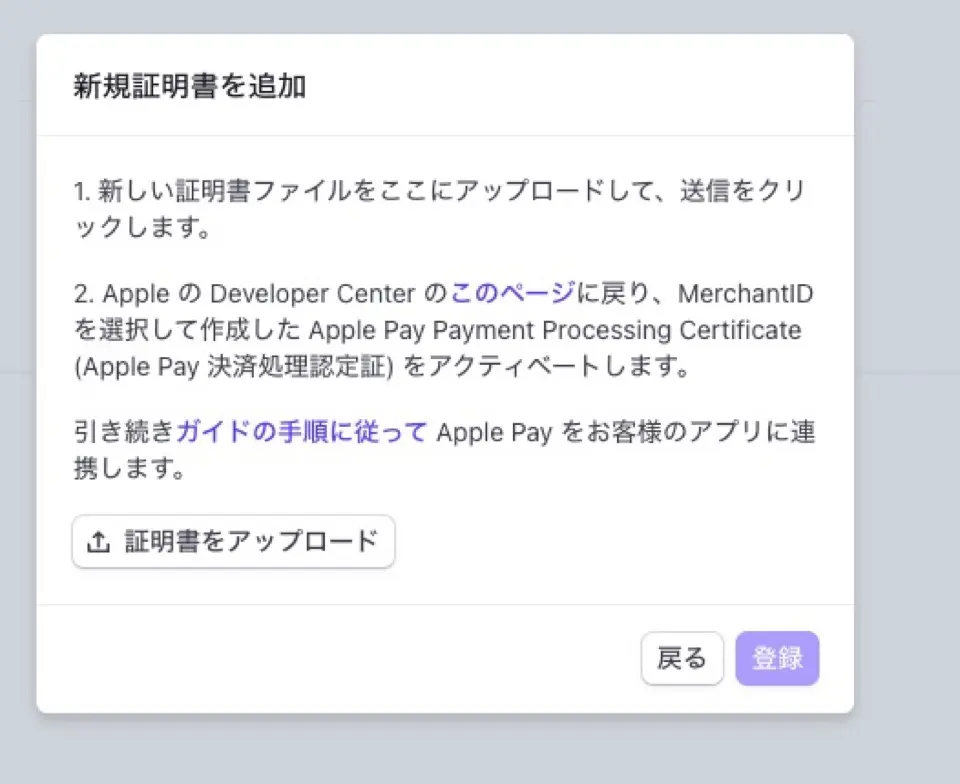
Stripeからダウンロードした certSigningRequest ファイルをアップロードします。

そうすると apple_pay.cer という証明書がダウンロードできます。
Stripeに証明書の登録
証明書をダウンロードしたらStripeで apple_pay.cer を登録します。
こうなっていれば完了です。

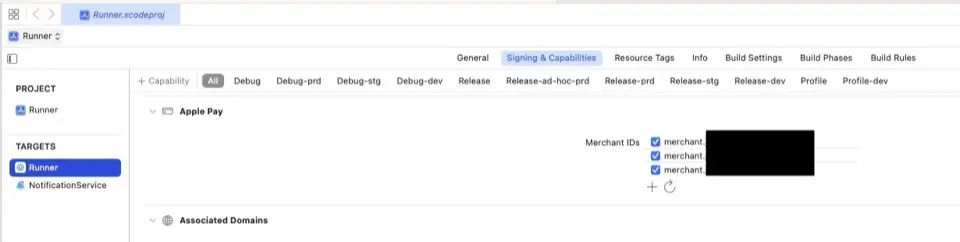
Xcodeでの登録
証明書の登録ができたら、最後にXcodeのCapabilitiesからApple Payに登録したmerchant idを追加すれば設定は完了です。
アプリ側での確認方法
アプリからはAPI経由でbooleanが返ってくるので、Apple Payをサポートしていたらボタンを表示などができます。
試している感じだとアカウントにApple Payのカードが登録されていたらtrueが返ってきました。
StripeAPI.deviceSupportsApplePay()
私はFlutter Stripe というライブラリ経由で使っているので、Dartではこうなります。
Stripe.instance.isPlatformPaySupported();